Several people have requested dimensions for the criss cross card that I am making for Dani's graduation invite. They are really very simple.
First, cut your 8 1/2" x 11" cardstock in half so that you have 2- 4 1/4" x 11" pieces.
Score both of the pieces at 5 1/2" on the 11" side
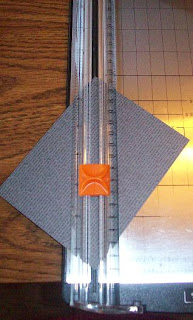
Cut off the corner of each both pieces from the bottom corner to the top of the score line.
Here are the cut pieces.
Tape the 2 square portions of the cs together so that you have a flap on each side.
Cut a piece of DSP 5 1/4" x 4
Then cut diagonally. If you are going to use DSP on both flaps make sure that you use a pattern that can be flapped and not be upside down or you can use the backside for the other flap. **I learned the hard way.** LOL
Then cut a piece of cardstock for the bellyband 3/4" x 12"
I score the band a few inches from the one end so I can have a straight edge to wrap around to start the band. :)
Dress it up and VOILA! a criss cross card.
Your insert for your card should be about 5 1/4" x 4". (I haven't printed all the graduation information out yet, but as of this morning I have 50 invites made. That's a lot of criss-crossing!)


No comments:
Post a Comment